Introduction
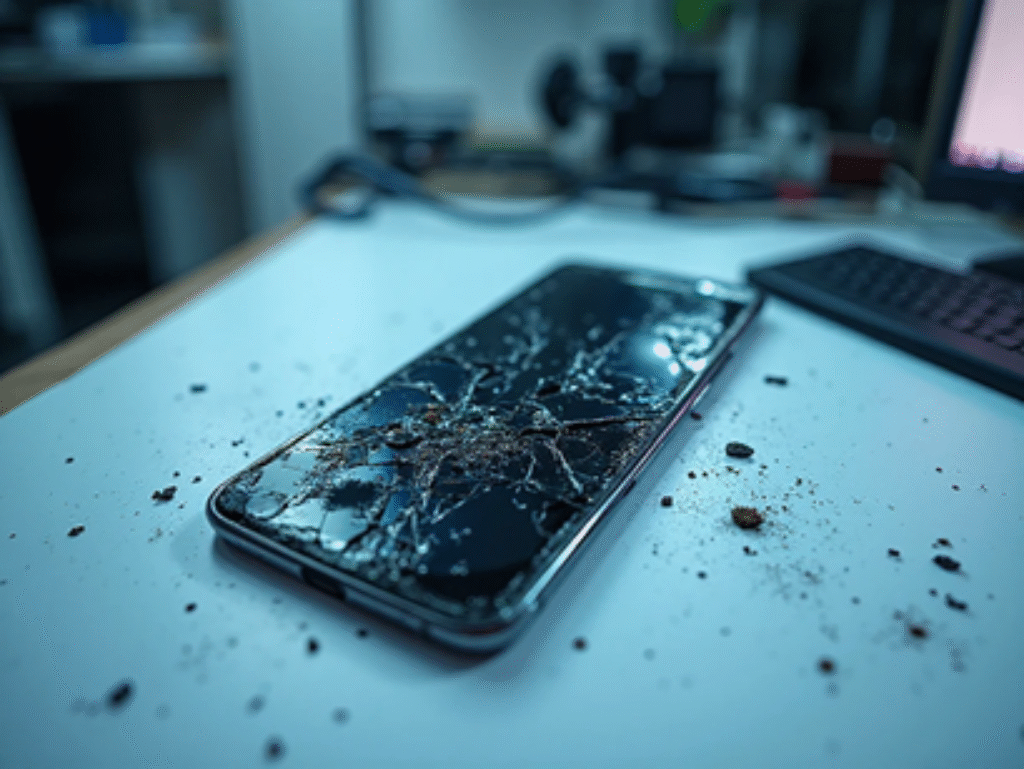
Cracked or unresponsive display on your Vivo Y20? Don’t worry — you can replace the LCD and touchscreen yourself or have it done by a technician.
This guide covers every step for Vivo Y20 LCD screen replacement, including the required tools, precautions, and image prompts for each stage.
What You’ll Need
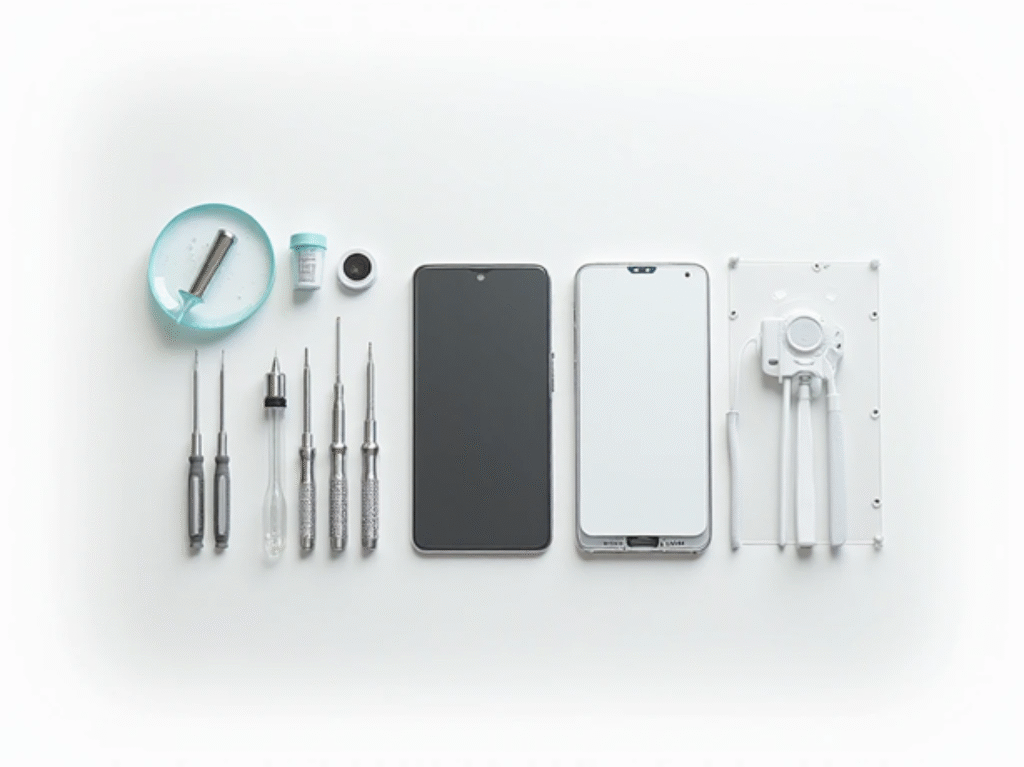
Before you start, make sure you have all the right tools and parts:
Tools & Parts Required:
- Replacement Vivo Y20 LCD + Touch Screen Assembly
- Precision screwdriver set
- Suction cup and opening picks
- Plastic spudger or pry tool
- SIM ejector pin
- Tweezers
- Heat gun or hair dryer
- Adhesive tape or glue (B-7000 or T-7000)
Step 1: Power Off the Device
Before opening the phone, turn it off completely to avoid short circuits.
Remove the SIM tray using the ejector pin.
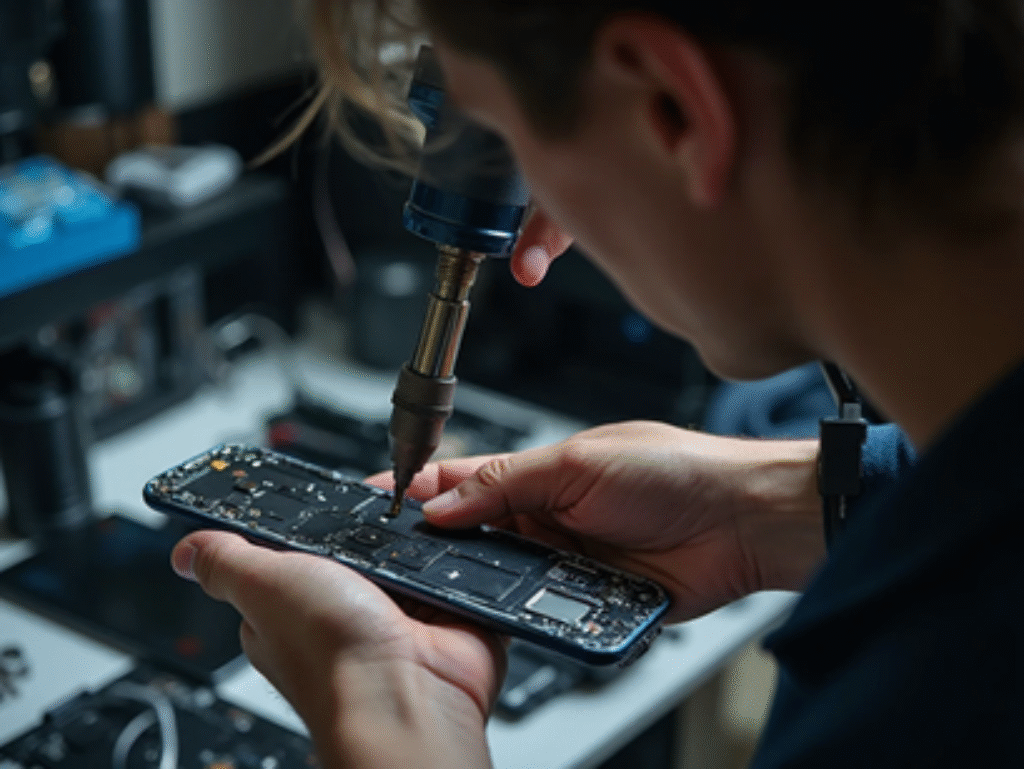
Heat the Back Cover
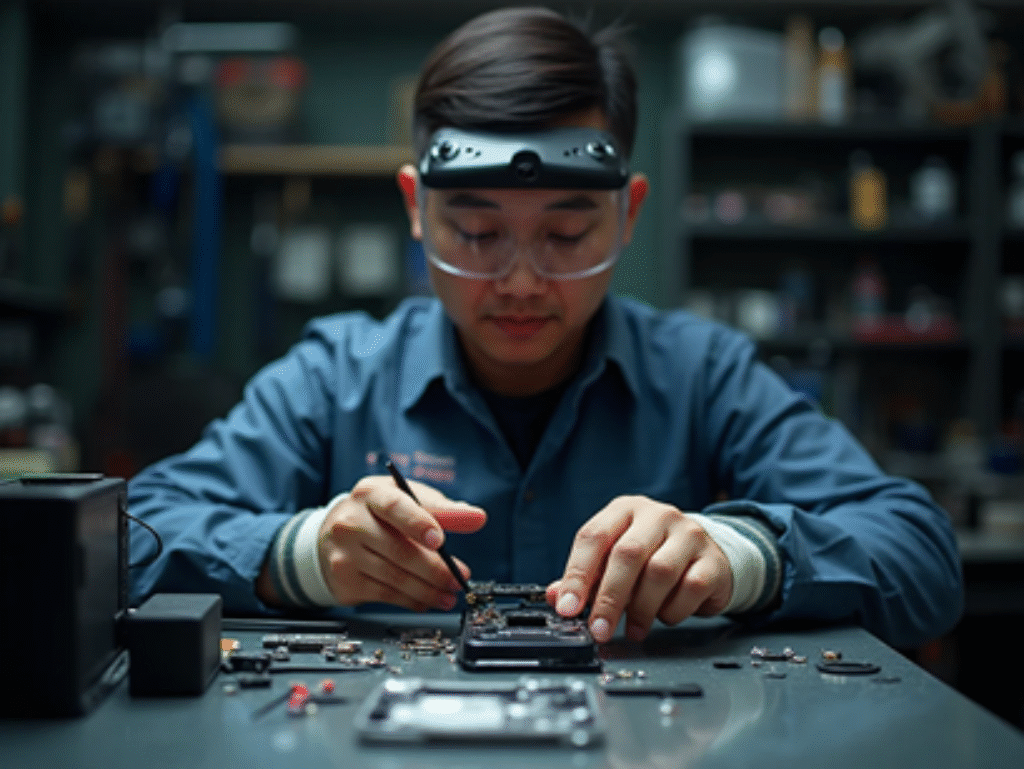
Use a heat gun or hair dryer to gently warm the edges of the back cover for about 1–2 minutes.
This softens the adhesive holding the back cover in place.
Step 3: Remove the Back Cover
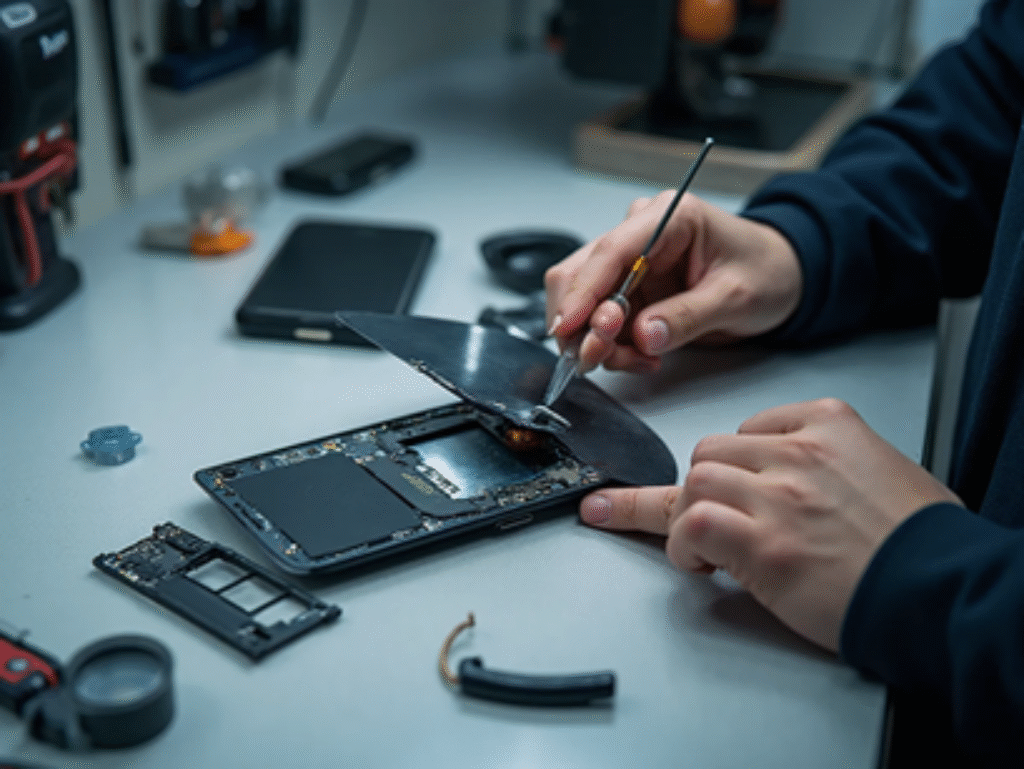
Insert a plastic pick into the gap between the back cover and frame.
Slide it around gently to loosen the adhesive.
Lift the back cover slowly avoid using metal tools to prevent scratches or damage.
Step 4: Disconnect the Battery
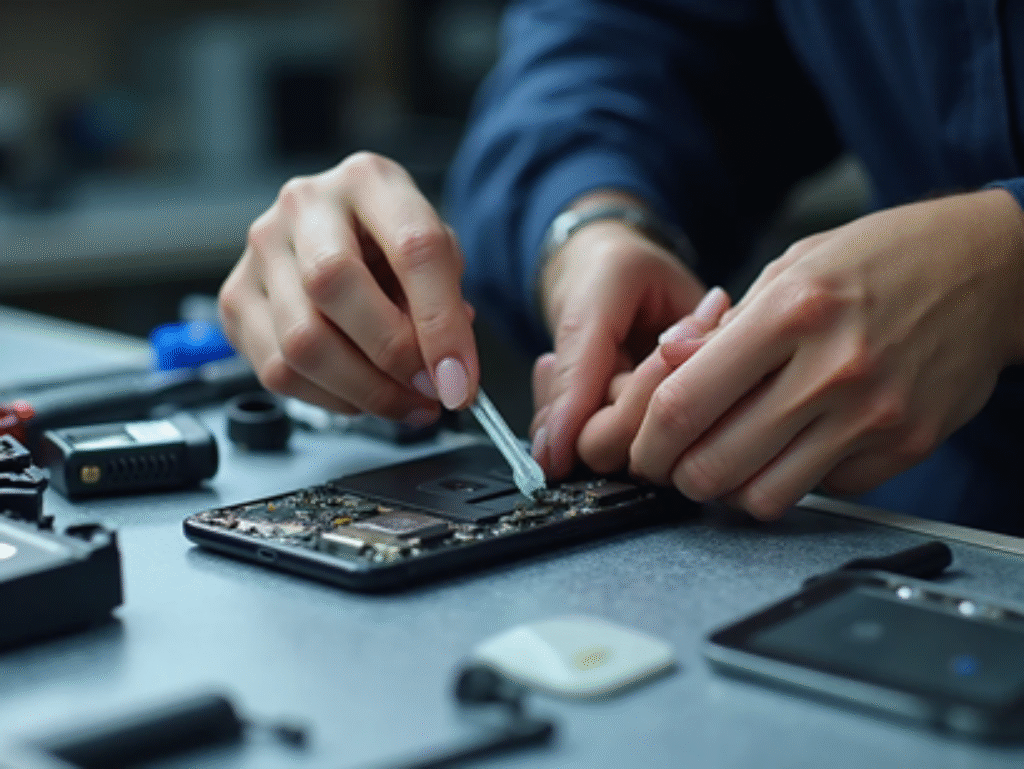
Once the back cover is off, locate the battery connector.
Unscrew and remove the protective bracket, then disconnect the battery using a plastic spudger.
This step is very important for safety.
Step 5: Disconnect the Display Flex Cable
Find the LCD/display flex cable connected to the motherboard and gently disconnect it.
You’ll need to remove a few screws and the metal shield covering it first.
Step 6: Separate the Broken Screen
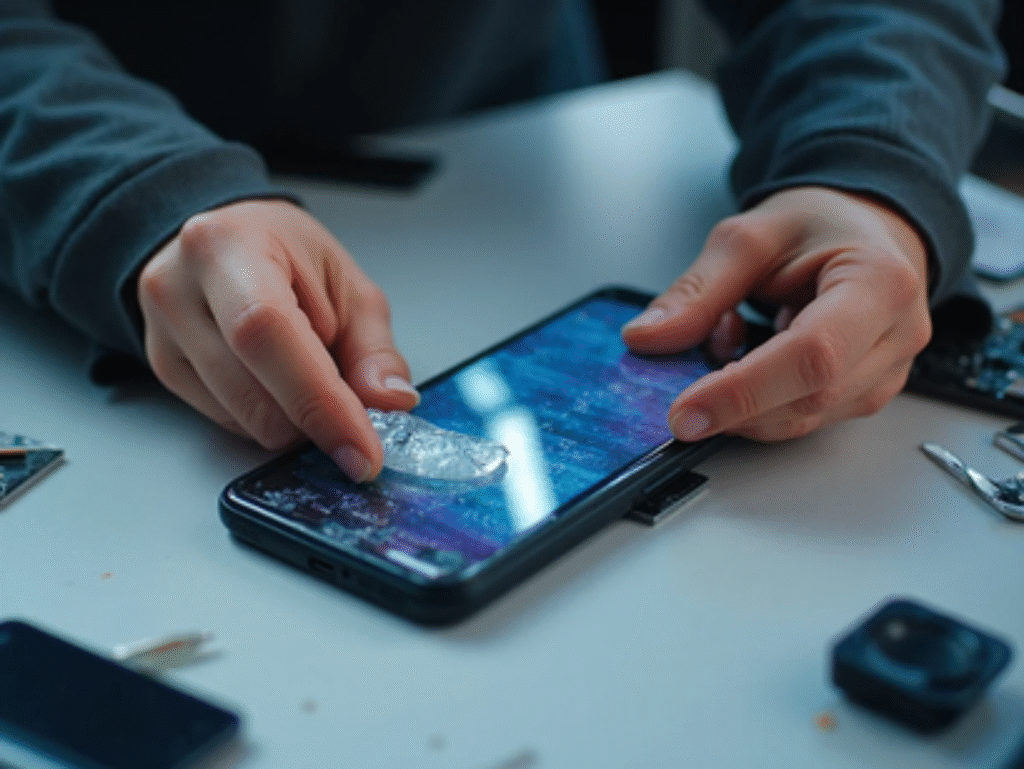
Now heat the front side of the phone to soften the screen adhesive.
Once warm, use a suction cup to lift the screen slightly and insert a thin plastic pick.
Carefully slide around the edges to remove the broken LCD and touch screen assembly.
Step 7: Clean the Frame
Remove any leftover adhesive or glass fragments from the frame.
Use alcohol wipes or a clean microfiber cloth to ensure the surface is smooth and clean.
Step 8: Install the New LCD
Connect the new LCD flex cable temporarily and test the display before sealing.
Once you confirm the display works properly, apply adhesive (B-7000/T-7000) around the frame edges.
Carefully align and place the new LCD on the frame.
Step 9: Reassemble the Phone
Reconnect the display flex, attach the battery connector, and screw back the metal shields.
Reinstall the back cover and press gently around the edges for a proper seal.
Power on the device to confirm everything works — touch, brightness, and colors.
Step 10: Test Your Phone
After reassembly, test:
- Touch responsiveness
- Brightness and color display
- Camera and speaker functions
- Charging and fingerprint sensor (if applicable)
Tips & Safety Notes
- Use genuine or high-quality LCD screens for best performance.
- Avoid using too much heat — it can damage internal components.
- Always disconnect the battery before removing the display.
- Apply pressure evenly while sealing the new LCD to prevent air gaps.