
Introduction
A cracked back glass on a Samsung Galaxy Note10 Plus 5G looks worse than it usually is to fix. The screen and internals typically keep working fine — it’s just the rear panel that needs swapping out. This guide walks through the full replacement process, whether you’re planning to do it yourself or just want to know what a technician should be doing before you hand over your phone.
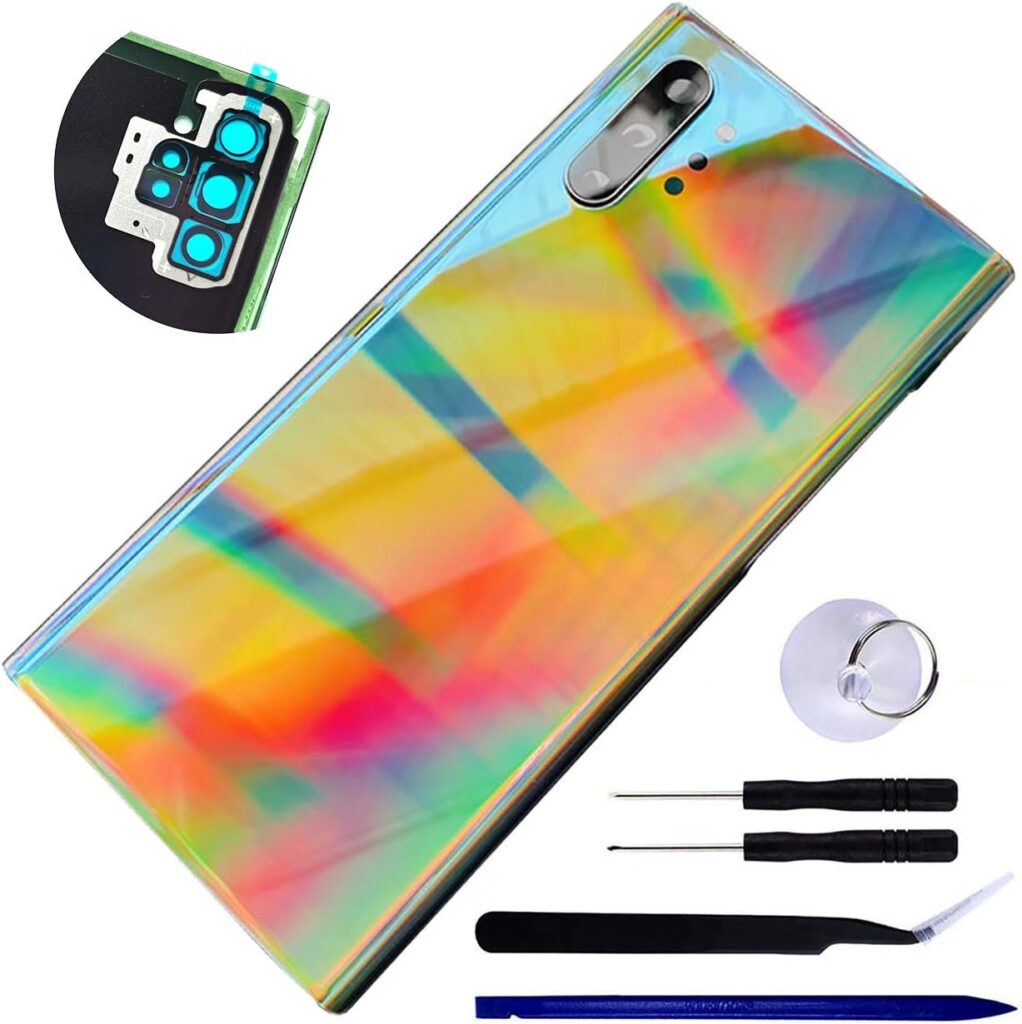
What You’ll Need
Get your tools and workspace ready before you start — stopping halfway through is when mistakes happen.
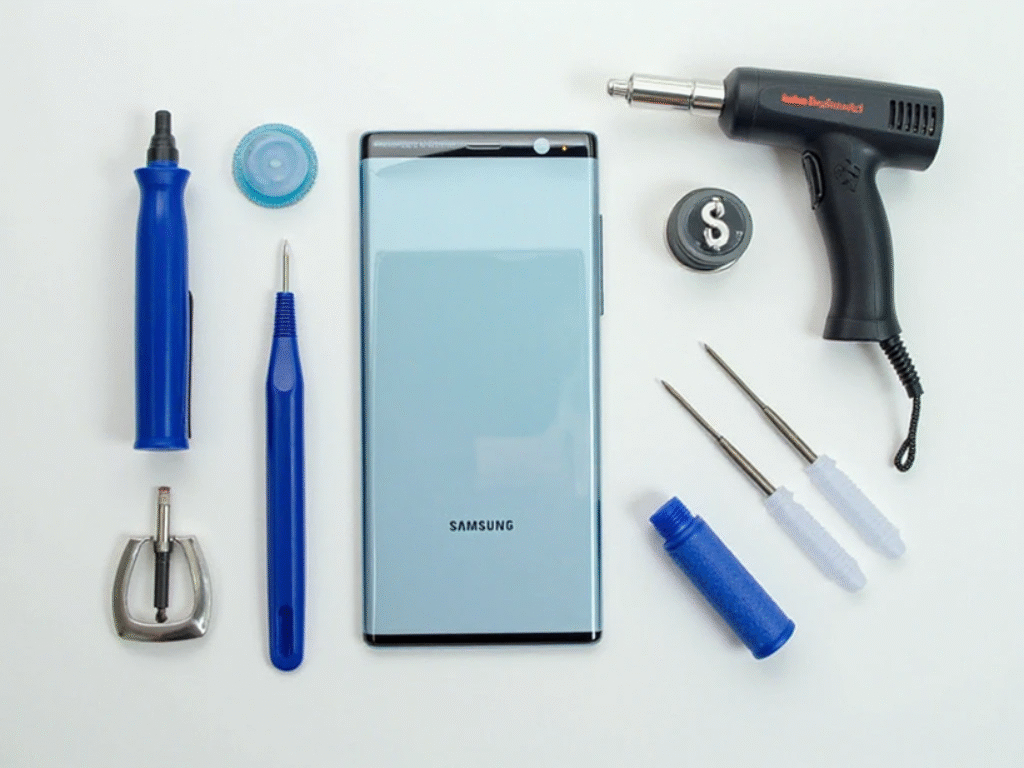
Tools & Parts:
- Replacement back glass for the Galaxy Note10 Plus 5G (Model N976)
- Heat gun or hair dryer
- Suction cup and thin plastic opening picks
- Isopropyl alcohol or cleaning wipes
- Anti-static gloves (recommended, not essential)
Step 1: Power Off the Device
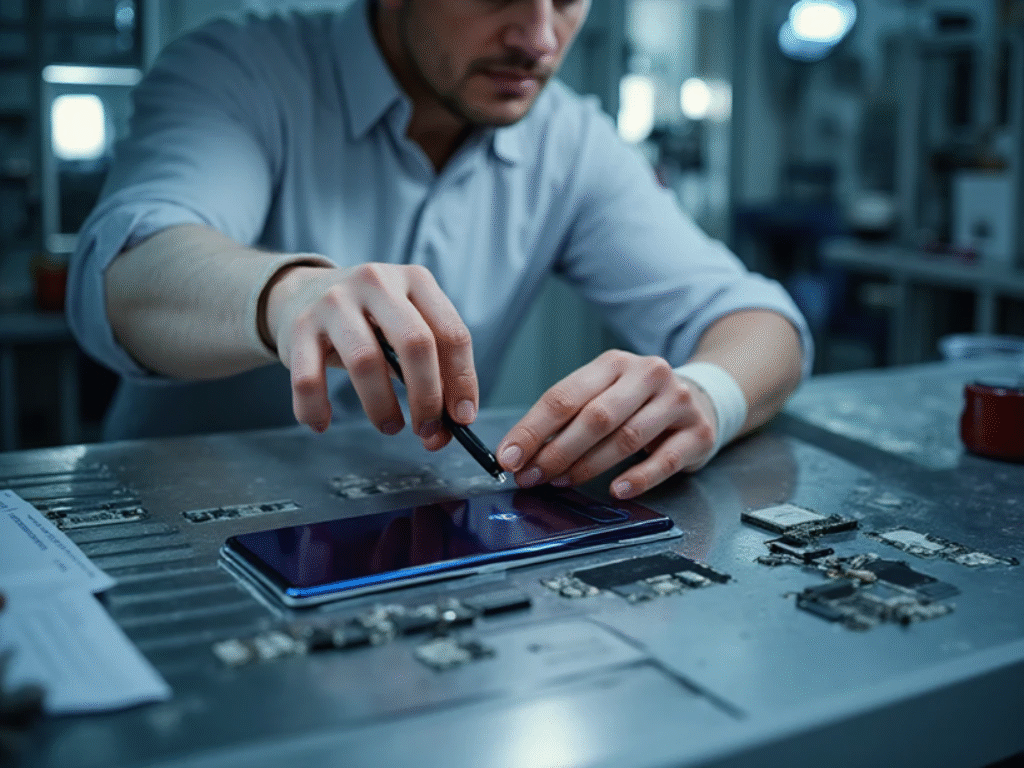
Shut the phone down completely before touching anything else. Pull out the S Pen and remove the SIM tray as well — you don’t want either in the way once you start working around the frame.
Step 2: Heat the Back Glass
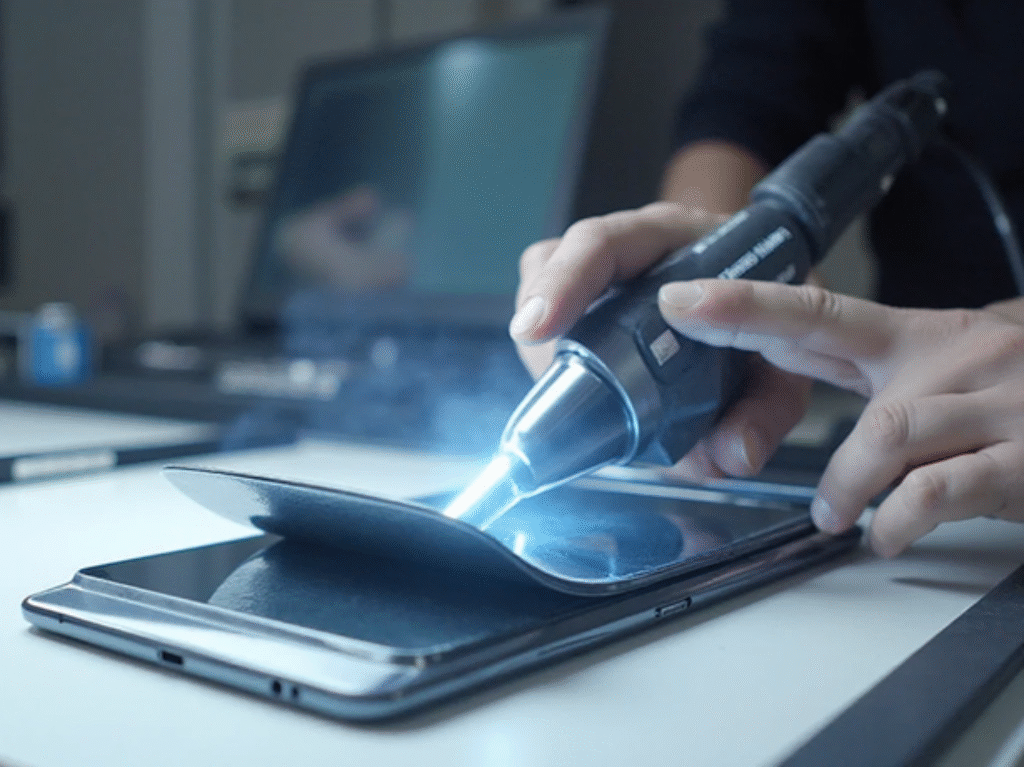
The back glass sits on strong adhesive, so it needs softening before it will budge. Run a heat gun or hair dryer evenly around the edges for about 1-2 minutes — keep it moving so you don’t concentrate heat in one spot.
Step 3: Lift the Glass With a Suction Cup
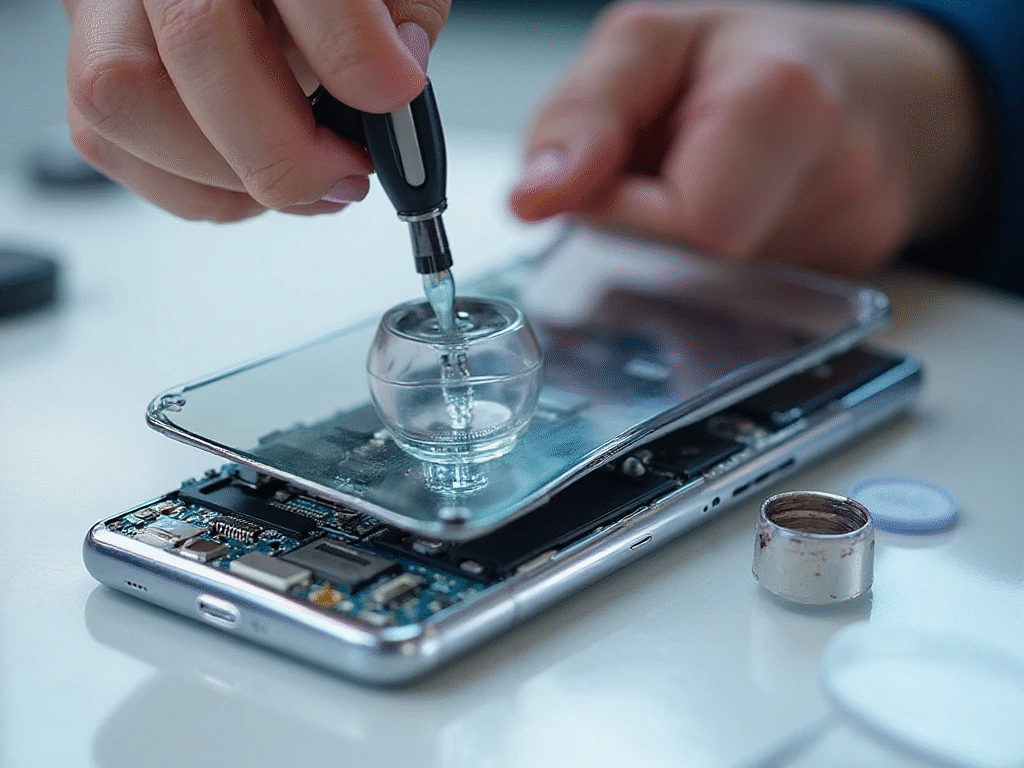
Stick a suction cup to the lower half of the glass and pull up gently to open a small gap. Slide a plastic pick into that gap and work it around the edge slowly to break the adhesive seal. Take your time here — rushing this step is how the glass ends up cracking further.
Step 4: Remove the Old Glass
Once the adhesive lets go, lift the back glass off carefully. Check the frame for leftover shards, and take a moment to confirm nothing underneath — the wireless charging coil, antenna lines, or camera housing — got damaged in the process.
Step 5: Clean the Frame
Wipe off any leftover adhesive or dust from the frame using isopropyl alcohol or a clean cloth. Peel the protective backing off your new glass panel so the fresh adhesive is exposed and ready to bond.
Step 6: Fit the New Back Glass
Line the new glass up carefully with the frame before pressing down — once the adhesive grabs, repositioning gets much harder. Press evenly around all edges, and if needed, apply a little heat to help the adhesive settle. Hold firm pressure across the panel for a few minutes for a solid seal.
Step 7: Test Everything
Power the phone back on and confirm these are all working normally:
- Wireless charging
- Camera focus
- Flashlight and S Pen functions
If the glass went on correctly, none of these should behave any differently than before the repair.
Tips and Safety Notes
- Don’t overheat the back panel — too much heat can damage the AMOLED display sitting just underneath.
- Stick to OEM or high-quality aftermarket parts so the color and fit actually match.
- If the metal frame itself is bent or cracked, fix that first — new glass won’t sit right on a warped frame.
- Check the water-resistance seals if keeping splash protection matters to you.
If any of these steps feel outside your comfort zone — particularly the heating and prying stages — it’s worth having a technician handle it instead. Our phone repair beginner’s guide covers the general precautions that apply whether you’re working on an iPhone or a Samsung device, and our Samsung Galaxy S10+ display replacement guide is a useful comparison if you’re dealing with a cracked screen rather than back glass.
Frequently Asked Questions
Can I replace the Galaxy Note10 Plus 5G back glass myself?
Yes, it’s a manageable DIY repair if you’re comfortable with heat guns and prying tools. That said, it does carry a real risk of further cracking the glass or damaging the display underneath if you rush any step.
Will wireless charging still work after the repair?
It should, as long as the wireless charging coil underneath the glass wasn’t disturbed during removal. Always test wireless charging right after reassembly to confirm.
Does replacing the back glass affect water resistance?
It can, unless the adhesive seal is applied correctly and the water-resistance gaskets are undamaged. If splash protection matters to you, a professional repair is the safer route.
How long does a back glass replacement take?
A careful DIY replacement typically takes 30 to 45 minutes, including heating, removal, cleaning, and reinstallation. A technician with the right tools can usually do it faster.
What tools do I absolutely need for this repair?
At minimum, a heat source, a suction cup, and thin plastic opening picks. Anti-static gloves are a nice extra precaution but not strictly required.
Is it cheaper to DIY this repair or use a repair shop?
DIY is usually cheaper since you’re only paying for the replacement glass and basic tools. A repair shop costs more but reduces the risk of accidentally damaging internal components.

