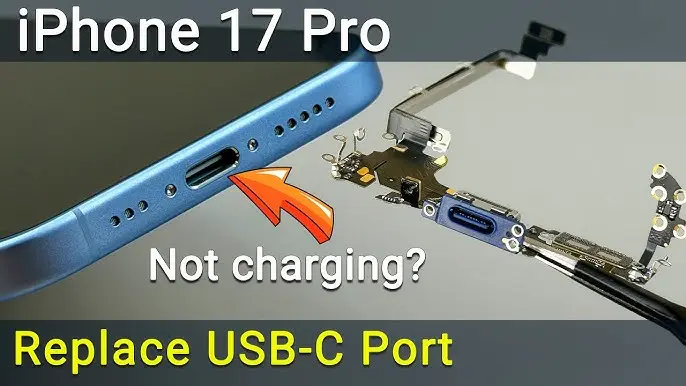
iPhone 17 Pro Charging Problems — What Causes Them?
If your iPhone 17 Pro refuses to charge properly, charges only at a certain angle, keeps disconnecting, or shows the charging icon without increasing battery percentage, the issue is often linked to the charging port assembly.
Common symptoms include:
- Phone charges only when cable is moved
- Charging repeatedly connects and disconnects
- Battery percentage doesn’t increase
- “Accessory Not Supported” warning
- Liquid detected notification
- USB data connection not working
- CarPlay disconnecting
- Bottom microphone not working properly
In most cases, replacing the charging port assembly restores both charging stability and data connectivity.
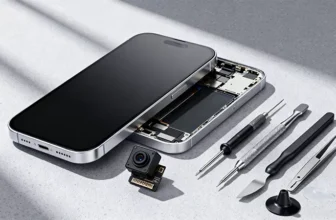
Tools Required for iPhone 17 Pro Charging Port Repair
Before starting the repair, prepare the following tools:
- Precision screwdriver set
- Pentalobe 0.8 mm
- T4 Torx
- Phillips 1 mm
- Standoff 1.5 mm
- Plastic pry tools
- Tweezers
- Suction cup
- Screen disassembly tool
- Waterproof adhesive sealing tape
- Magnetic mat (recommended for organizing screws)
👉 A magnetic mat helps prevent mistakes since the iPhone contains many screws of different sizes.
Step 1: Power Off the iPhone
Always begin by turning off the device.
Then remove the two Pentalobe screws located beside the USB-C charging port.
Step 2: Heat the Display Adhesive
The display is sealed with waterproof adhesive.
- Apply gentle heat to the lower edge
- Heat for 60–90 seconds
- Temperature: around 90°C (194°F)
Heating softens adhesive and prevents screen damage.
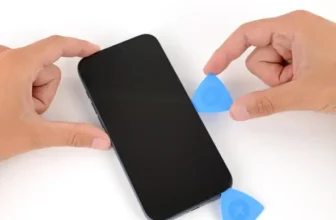
Step 3: Open the Display Safely
- Place a suction cup near the bottom edge.
- Create a small gap using a thin blade.
- Insert a plastic pry tool.
- Slowly move around the edges while keeping the screen warm.
⚠️ The display opens like a book from the side due to top hinges.
Step 4: Disconnect Display and Sensor Cables
- Remove the connector bracket screw.
- Carefully disconnect:
- Display cable
- Front sensor connectors
Set the display aside safely.
Step 5: Remove Cooling Plate and Battery Screws
Unscrew and remove:
- 14 screws securing the cooling plate
- Battery protection components
This exposes internal hardware.
Step 6: Remove Bottom Components
Remove Bottom Speaker
- Unscrew speaker mounting screws
- Peel back plastic shim
- Lift speaker out
Remove Vibration Module
- Unscrew vibration motor
- Disconnect flex cable
- Remove module and bracket
Step 7: Remove Charging Port Assembly
The charging port flex cable is glued to the frame.
- Apply gentle heat to soften adhesive.
- Carefully lift from the bottom edge.
- Slowly peel the charging port flex cable away.
Take your time to avoid tearing cables.
What Does Charging Port Replacement Fix?
Replacing this module solves multiple issues because it includes:
- USB-C charging port
- Data transfer connection
- Lower microphone
After replacement, users typically see fixes for:
- Charging failure
- Cable movement sensitivity
- Random disconnects
- Unsupported accessory errors
- Microphone audio problems
Step 8: Install the New Charging Port
- Position the new charging port assembly.
- Ensure it sits flush inside the frame.
- Align connectors properly.
- Seat the lower microphone correctly.
- Secure with original screws.
Step 9: Reinstall Internal Components
Reassemble in reverse order:
- Reinstall vibration module
- Reinstall bottom speaker
- Reattach cooling plate (partially for testing)
Step 10: Test Before Closing the Phone
Before sealing the device:
- Power on the iPhone
- Test charging with a working cable
- Check USB data connection
- Record a Voice Memo to test microphone
Testing early prevents reopening the phone later.
Step 11: Restore Water Resistance
Once opened, the original adhesive no longer protects against water.
Remove Old Adhesive
- Carefully peel old sealing tape
- Clean residue using 91%+ isopropyl alcohol
Apply New Adhesive
- Align sealing tape carefully
- Press along edges using plastic spudger
- Peel protective liner
Step 12: Close the iPhone
- Reconnect display cables.
- Install connector bracket.
- Press display edges firmly.
- Reinstall bottom screws near charging port.
Your repair is now complete.
Final Checks After Repair
Make sure:
- Charging works consistently
- Cable fits securely
- Data transfer functions normally
- Microphone audio is clear
- No warning messages appear
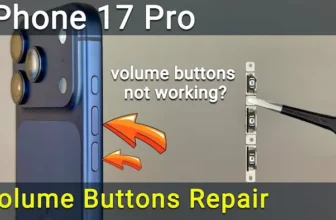
FAQs — iPhone 17 Pro Charging Issues
Why does my iPhone charge only at an angle?
Dust buildup or a damaged charging port flex cable is usually responsible.
Does replacing the charging port fix microphone problems?
Yes. The charging assembly includes the lower microphone.
Do I need calibration after replacement?
No software calibration is required for the charging port.
Is water resistance fully restored?
Only if new waterproof adhesive is installed correctly.
Can beginners perform this repair?
Yes, but patience and proper tools are essential.
Final Thoughts
Charging issues on the iPhone 17 Pro are frustrating but often repairable without replacing the entire device. By carefully replacing the charging port assembly and restoring the adhesive seal, you can bring back reliable charging, stable connections, and proper microphone performance.
With the right tools and careful handling, this repair can significantly extend your phone’s lifespan.