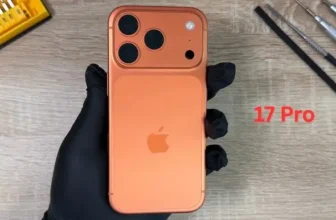
If your iPhone 17 Pro front camera shows a black screen or Face ID stops working with errors like “Face ID Not Available”, “Face ID Disabled”, or TrueDepth camera problem detected, the issue is usually caused by a damaged front camera and TrueDepth assembly.
In this complete step-by-step repair guide, you’ll learn how to replace the front camera and restore Face ID functionality on the Apple iPhone 17 Pro.
👉 Check latest market price before repairing or upgrading:
https://pricetoday.pk/mobile/apple-iphone-17-pro-price-in-pakistan/
You can also explore all Apple models here:
https://pricetoday.pk/mobile/apple-iphone-price-in-pakistan/
Common Signs of Front Camera or Face ID Failure
You may need TrueDepth module replacement if:
- Front camera shows black screen
- Face ID not available error appears
- Face ID setup fails repeatedly
- Selfie camera doesn’t focus
- Camera app crashes when switching to front camera
- Face unlock stopped working after drop or water damage
Because the front camera and Face ID hardware are combined, replacing the assembly fixes both problems.
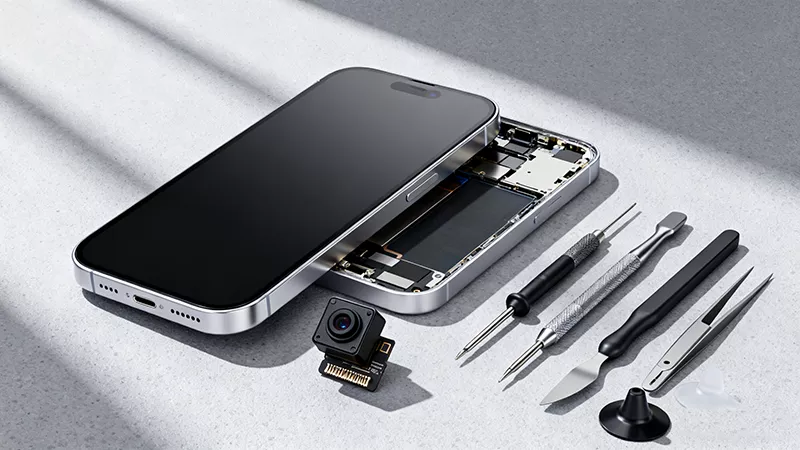
Tools Required for iPhone 17 Pro Front Camera Repair
Prepare these tools before starting:
- Precision screwdriver set
- Plastic pry tools
- Tweezers
- Suction cup
- Screen disassembly tool
- Waterproof adhesive sealing tape
- Magnetic screw mat (recommended)
💡 The iPhone contains dozens of different screws — organizing them properly prevents reassembly mistakes.
Step 1: Power Off and Remove Bottom Screws
- Turn off the iPhone completely.
- Remove the two screws next to the USB-C charging port.
Step 2: Heat the Display Adhesive
To safely open the phone:
- Apply gentle heat at about 90°C (194°F)
- Heat for 60–90 seconds
This softens the waterproof adhesive.
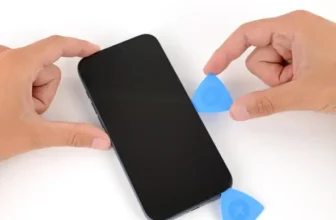
Step 3: Open the Screen Safely
- Attach a suction cup near the bottom edge.
- Insert a thin blade to create a small gap.
- Switch to a plastic pry tool.
- Carefully move around the edges while keeping heat applied.
At the top edge, release the hinge clips and open the display like a book.
Step 4: Disconnect Display and Sensor Connectors
- Remove the bracket covering connectors.
- Disconnect display cables.
- Disconnect front sensor cables carefully.
Place the display aside safely.
Step 5: Remove Cooling Plate
Remove the 14 screws securing the cooling plate and battery assembly.
Then remove the screw holding the upper connector cover.
Step 6: Remove TrueDepth / Face ID Module
- Disconnect the two ribbon cables.
- Carefully remove the Face ID module.
This assembly includes:
- Front selfie camera
- Infrared camera
- Dot projector (Face ID system)
Replacing this unit resolves both camera and Face ID issues.
⚠️ Important: Paired Component Warning
The TrueDepth camera is a paired Apple component, meaning it is linked to the logic board.
After installation, calibration using Repair Assistant is required for Face ID to function.
Step 7: Install the New Front Camera Module
- Place the new TrueDepth assembly into the housing.
- Reconnect both ribbon cables.
- Install connector cover and tighten the screw.
Step 8: Boot Test Before Final Assembly
- Reinstall the cooling plate with a few screws.
- Reconnect the display.
- Power on the device.
Confirm the phone boots normally.
Step 9: Calibrate Face ID Using Repair Assistant
After replacement:
- Go to Settings → General → About
- Open Parts & Service History
- Follow calibration prompts
Then test:
- Open Camera → switch to front camera
- Check image clarity and focus
- Record a video test
- Go to Face ID & Passcode and set up Face ID again
Step 10: Restore Water Resistance
Opening the phone breaks the original seal.
To restore protection:
- Remove old adhesive tape.
- Clean frame using 91%+ isopropyl alcohol.
- Align new waterproof adhesive.
- Press firmly along edges.
- Peel protective liner.
If new adhesive isn’t available yet, temporarily keep old tape.
Step 11: Final Assembly
- Secure cooling plate using all 14 screws.
- Reconnect display and sensor connectors.
- Reinstall bracket.
- Press display edges gently to seal.
- Reinstall bottom screws near charging port.
Your front camera and Face ID should now work normally.
Repair vs Upgrade — What Should You Do?
Front camera repair is usually far cheaper than replacing the device. However, if multiple hardware components are failing, checking current prices can help you decide.
👉 Compare latest iPhone prices in Pakistan:
https://pricetoday.pk/mobile/apple-iphone-price-in-pakistan/
FAQ — iPhone 17 Pro Face ID Not Working
Why does my iPhone say “Face ID Not Available”?
This usually happens when the TrueDepth camera module is damaged or disconnected internally.
Does replacing the front camera automatically fix Face ID?
Yes — if the full TrueDepth assembly is replaced and calibrated properly.
Is calibration necessary after replacement?
Yes. Apple requires Repair Assistant calibration for paired components like Face ID cameras.
Can software updates fix Face ID errors?
Sometimes, but hardware damage is the most common cause after drops or liquid exposure.